Shopify Connector
Follow these steps to add Shopify connector.
Step 1: Log in and access the Shopify Connector
- Log in to your seller account by navigating to Footer > Become a Seller > Seller Dashboard.
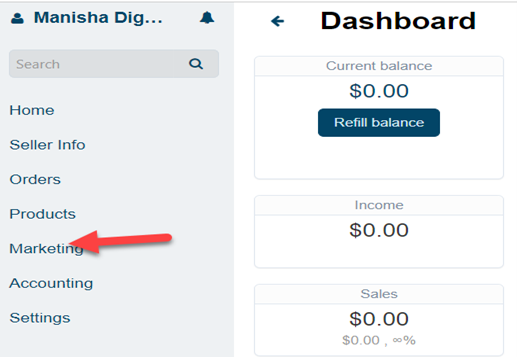
- Navigate to the Marketing tab on seller panel.
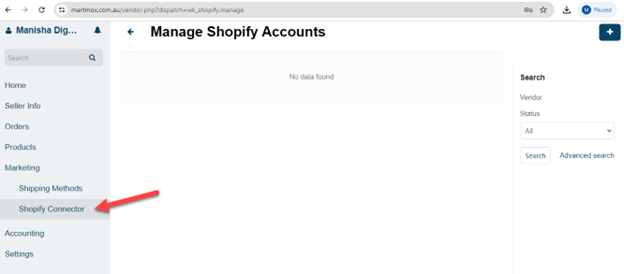
- Select Shopify Connector from the available options.
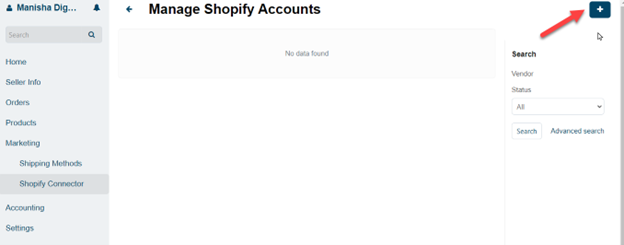
Step 2: Link Your Shopify Account
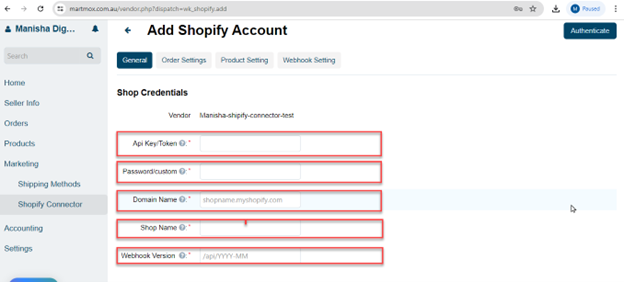
- Click on the "+" icon to add a new Shopify account.
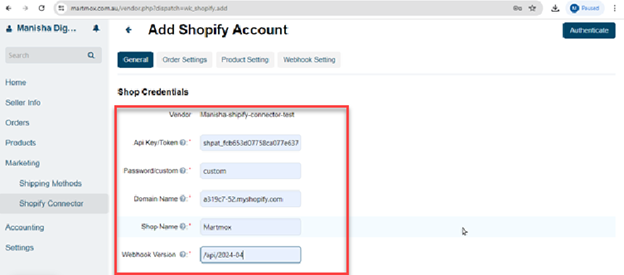
- Enter the required credentials, which can be retrieved from your Shopify account settings.
Step 3: Obtain API Access Token
- Create a custom app in your Shopify store if you don’t have one already.
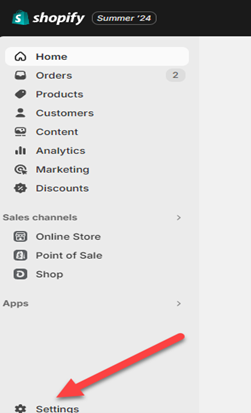
- Go to Settings.
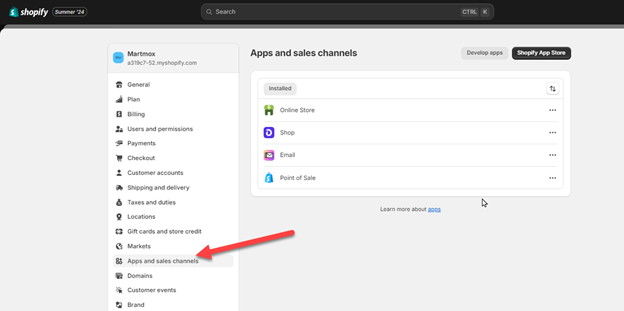
- Click on Apps and Sales Channel.
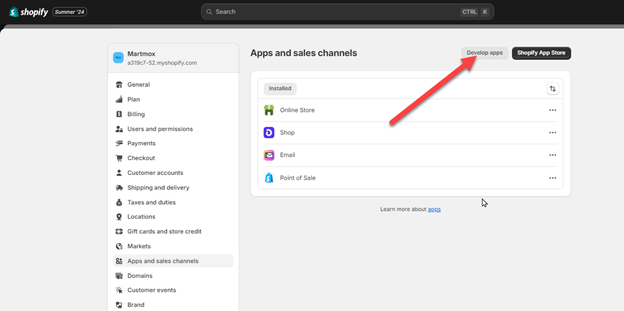
- Click on Develop App.
- Enter a name for your app.

- Copy the Admin Access Token. Note that it is visible only once, so copy and store it safely.
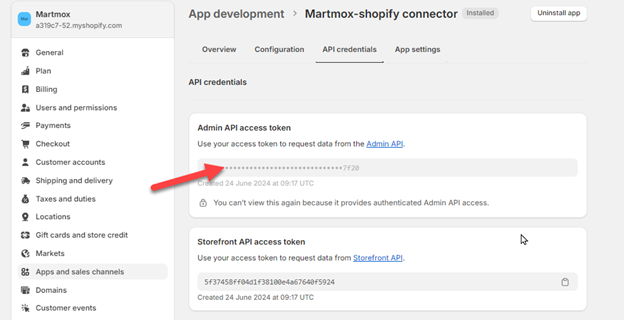
When you create a custom app, your password will be "custom".
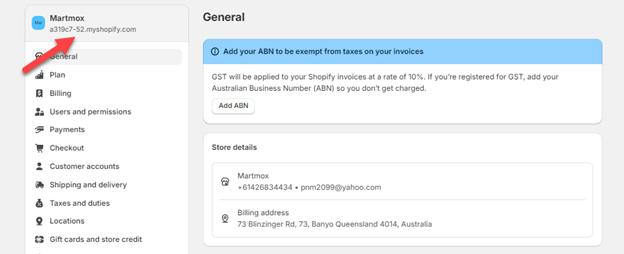
You can find your domain and shop name in your Shopify settings.
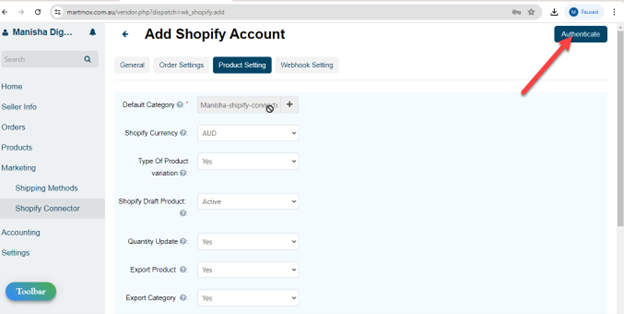
Step 4: Authenticate Your Shopify Account
- Fill in all the required details.
- Configure the Order Settings:
- Select Close Shopify Orders, Cancel Shopify Orders, Payment Processor, Import Orders from Shopify to Martmox, Default Shipping Method, and Fulfillment Status.

- Select Close Shopify Orders, Cancel Shopify Orders, Payment Processor, Import Orders from Shopify to Martmox, Default Shipping Method, and Fulfillment Status.
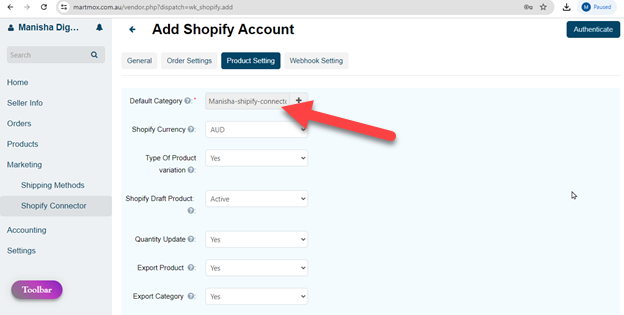
- Select the default category for your products.
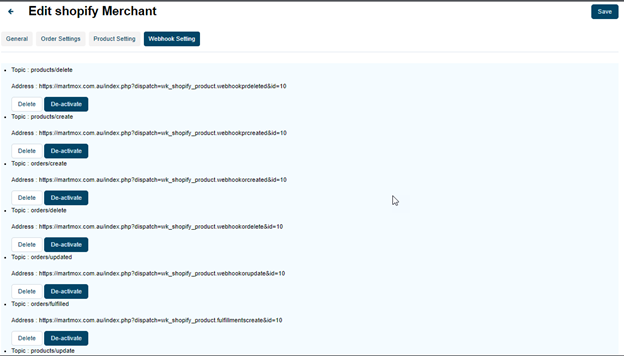
- In Webhook settings, a webhook is created for real-time product updates.
- Click on the Authenticate button.
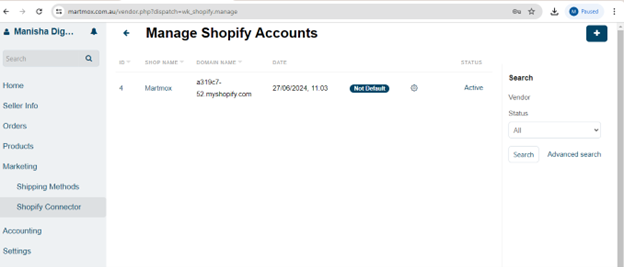
- Your Shopify account is now created.
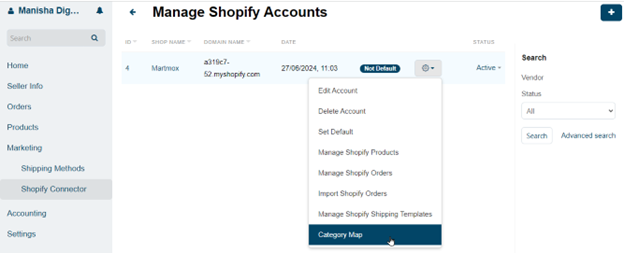
Step 5: Map Categories
- Go to the category map.
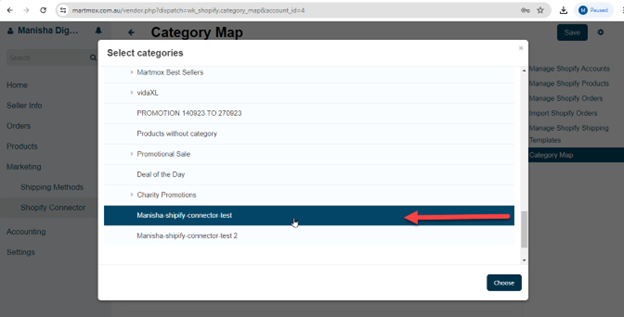
- Click on the "+" icon to see the list of available categories.
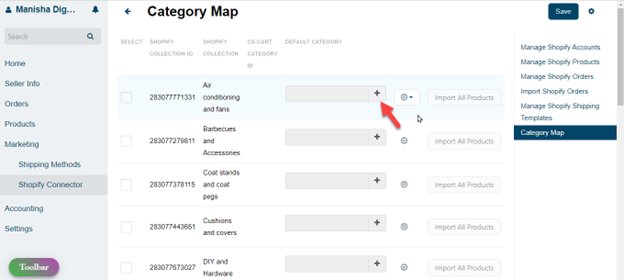
- Select the category you want to map in Martmox seller panel.
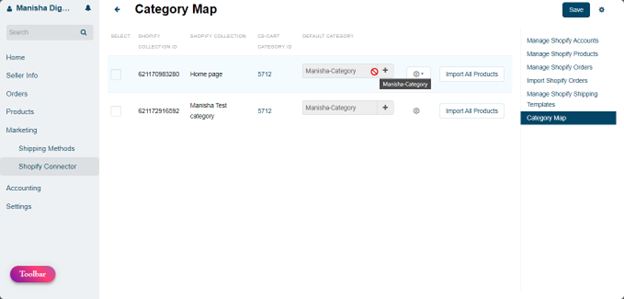
- Once you assign categories, click on Save.
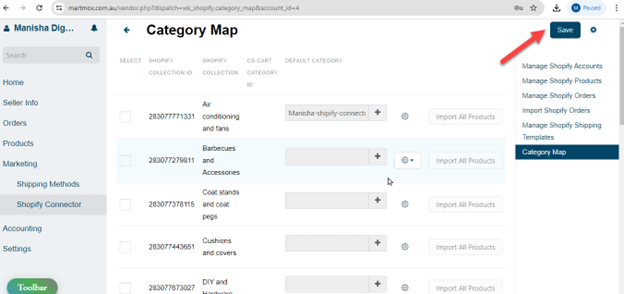
- The mapped categories will now appear in your list.
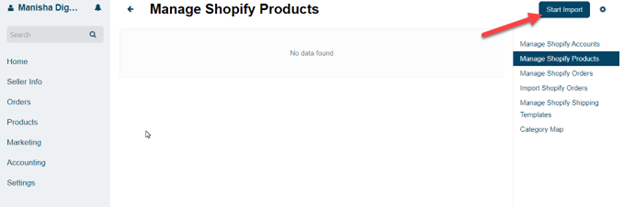
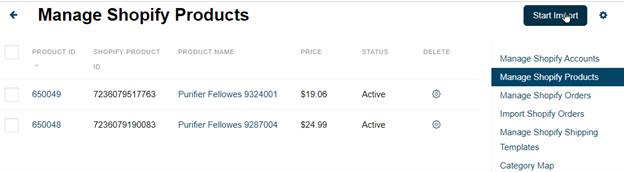
Step 6: Import Shopify Products
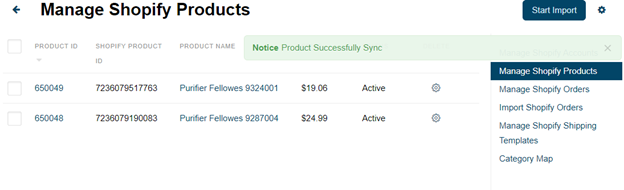
- Go to Manage Shopify Products and click on Start Import.
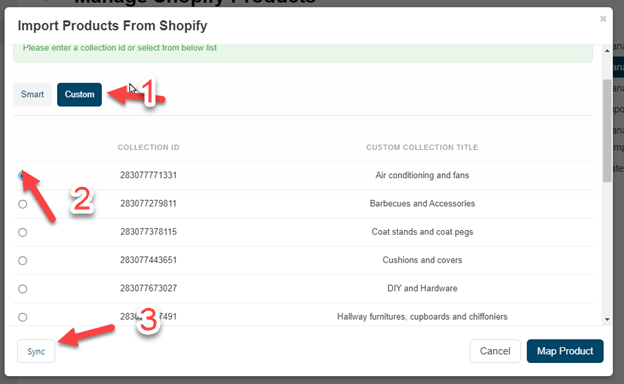
- Click on Custom.
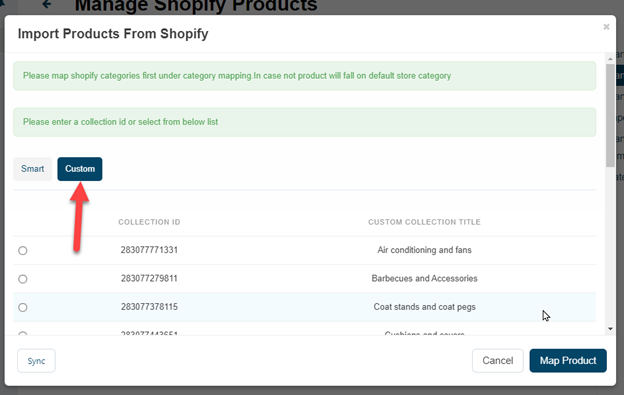
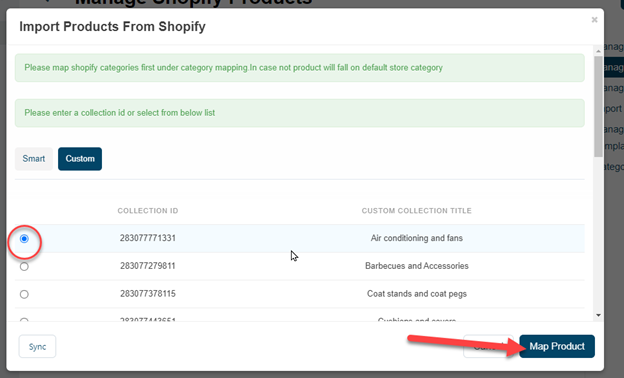
- Select the Collection ID to import products and click on Map Product.
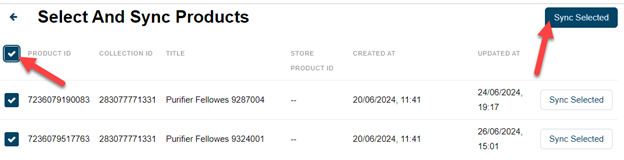
- You will see products from that collection. Select the product and click on Sync Selected.
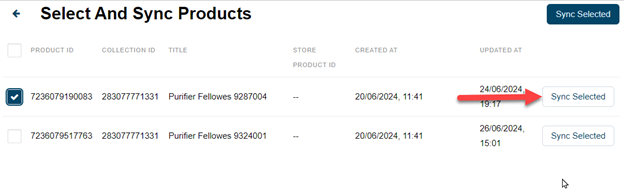
- To add all products, select all and click on Sync Selected.
Your products, including variations and tags, will be added.
Step 7: Export Products from Martmox to Shopify
For a Single Product:
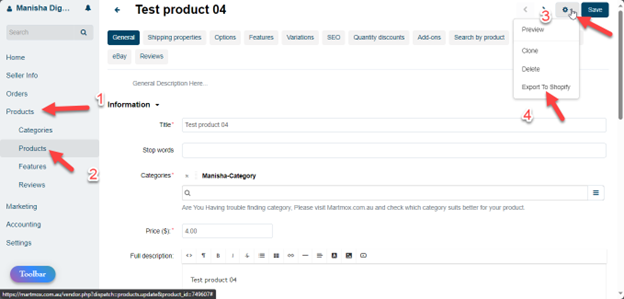
- Go to Products > Products.
- Select the product.
- Click the gear icon.
- Click Export to Shopify.
For Multiple Products:
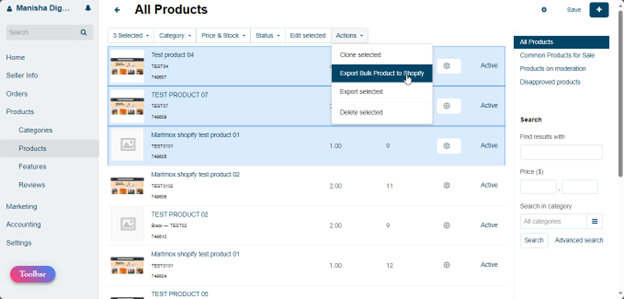
- Go to Products > Products.
- Select multiple products.
- Click Export Bulk Products to Shopify.
Important Notes:
- If a product status is disabled on Martmox, it will not be visible in Shopify.
- If a product status is draft in Shopify, it will be active on Martmox.
- Once Shopify is connected to Martmox seller panel:
- Manually created Shopify products will appear automatically.
- Any stock updates in Martmox will reflect in Shopify in real-time.
- Any product detail updates in Martmox will sync with Shopify.
- Deleting a product in Martmox will also delete it from Shopify.
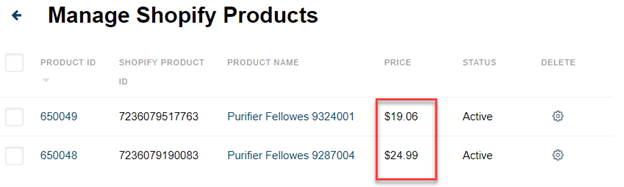
Step 8: Update Product Stock, Price, and Other Details
- Go to Start Import.
- Click on Custom.
- Select the Collection ID you want to update and click on the Sync button.
- After syncing, the latest product details will be updated.
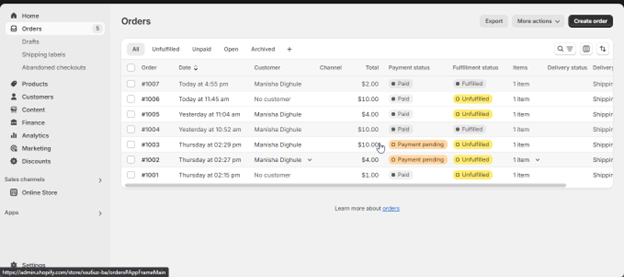
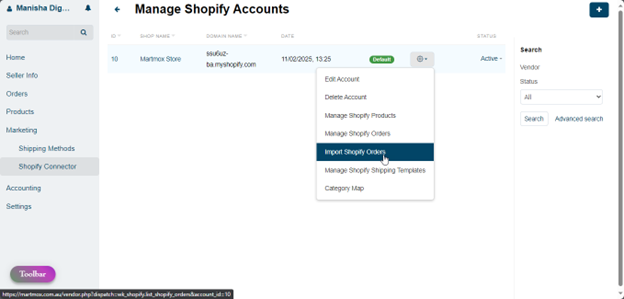
Step 9: Import Orders from Shopify to Martmox
- Navigate to Marketing > Shopify Connector.
- Click on the gear icon.
- Click on Import Shopify Orders.
- Select the order you want to import.
- Click on Order Import.
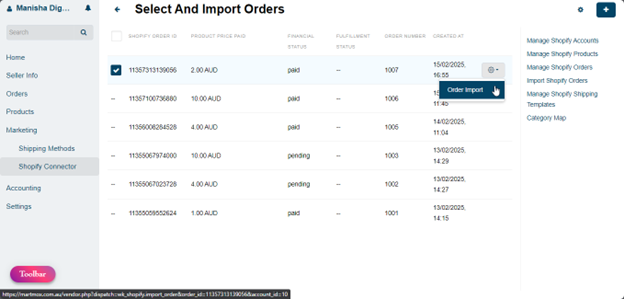
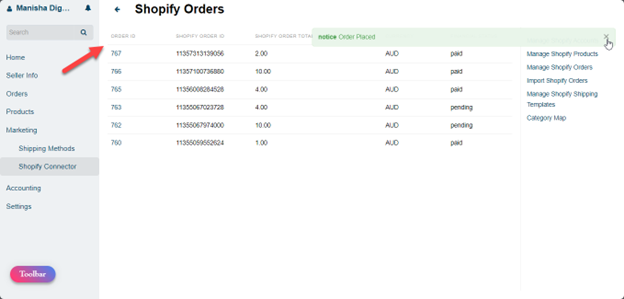
- The order will now be available on Martmox.
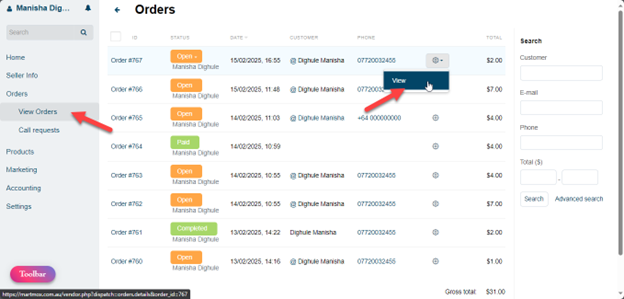
Step 10: Export Orders from Martmox Seller Panel to Shopify
- Go to Orders > View Orders.
- Select an order.
- Click the gear icon and click View.
- Click the gear icon again.
- Click Send to Shopify.
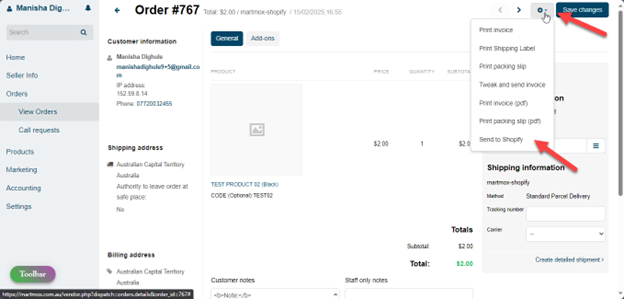
- The exported order will now be visible in Shopify.